Setting up a Frame Wallet
In this section, you will learn how to get started with Frame and interact with a DAO using a hardware wallet.
Install Frame
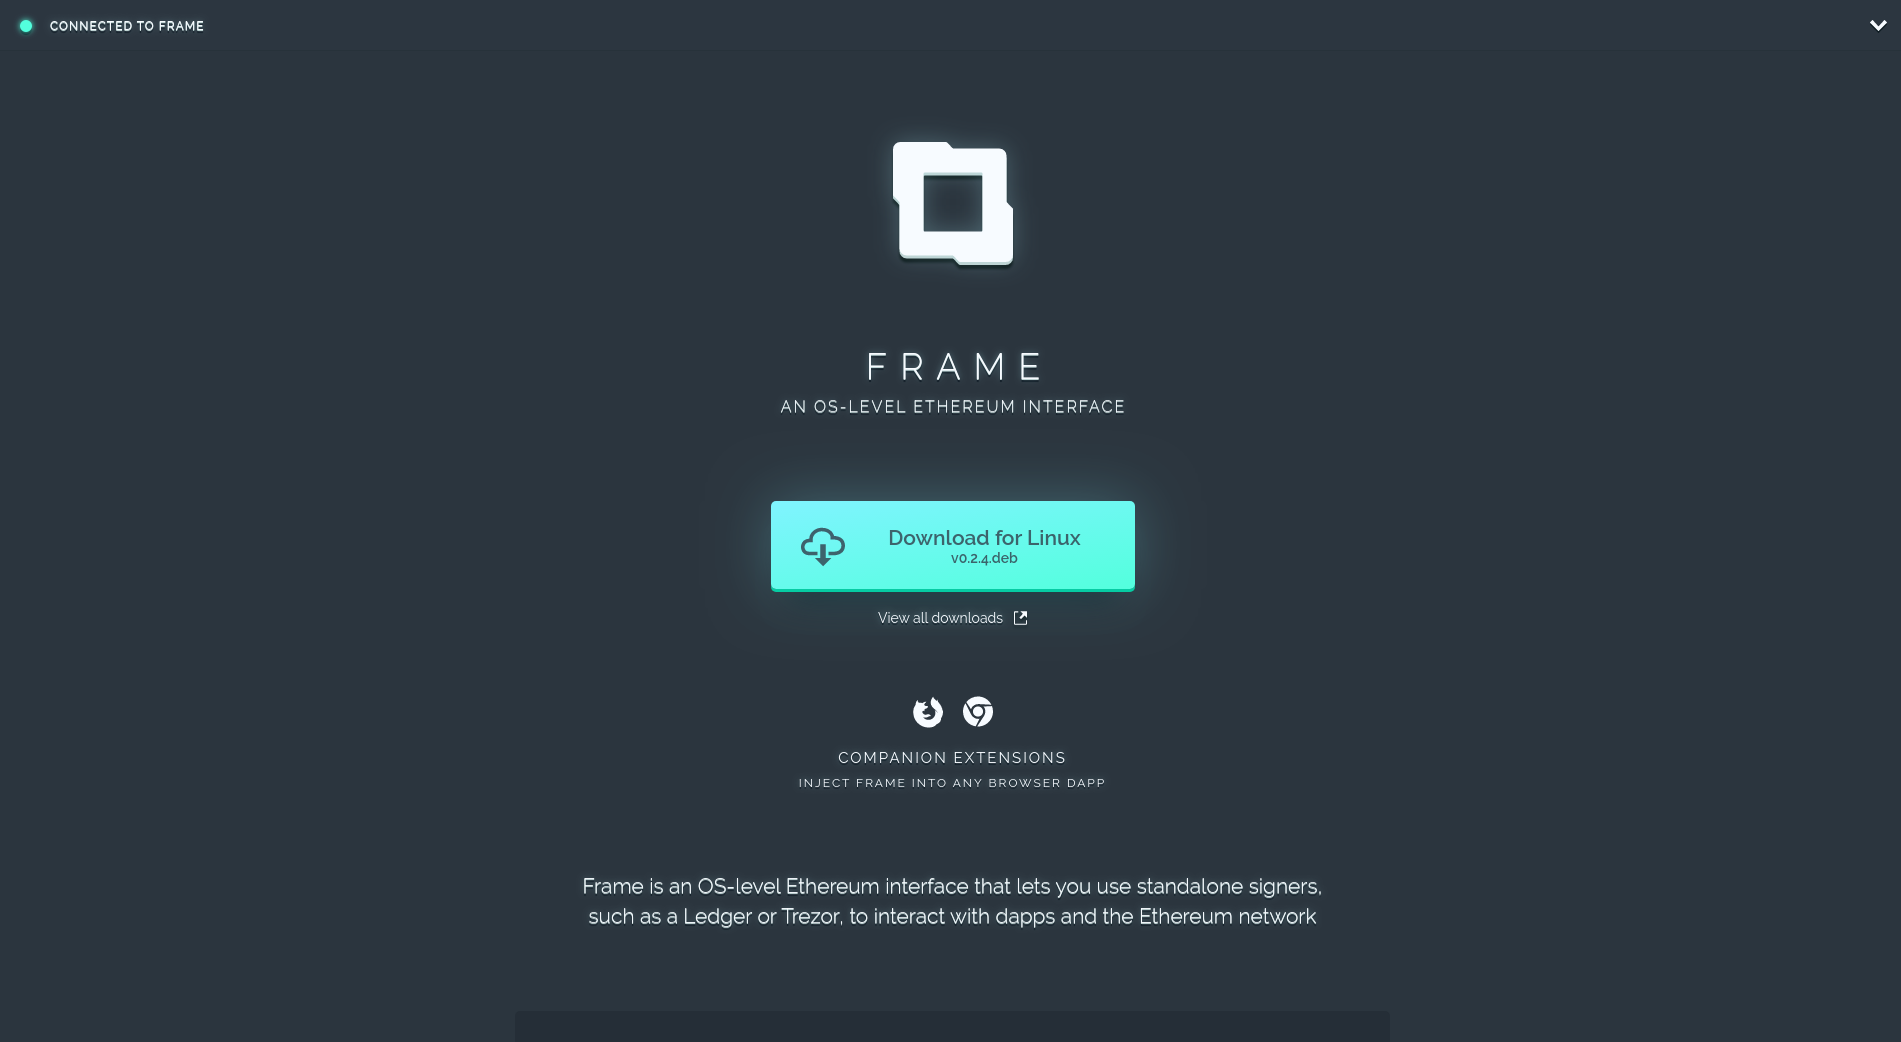
Go to the Frame website and install the Frame desktop client and browser extension.

Setup
You need a Metamask, Ledger or Trezor wallet to use Frame.
Start by downloading Frame from the official website: https://frame.sh. Afterwards, you will find Frame in your Menu bar.

Configure your device
Metamask
To import your Metamask wallet into Frame:
Click on the + button in the Accounts bar in top of the wallet.
Click on the add new accounts button in the frame which pop-ups on the right.
Click on the seed phrase button.
Copy and paste the seed phrase from your Metamask wallet and click next (see image below).
Your Metamask wallet should now appear in the Frame wallet.

Ledger
On Ledger devices insert your pin to unlock it. Next open Frame.

Trezor
On Trezor devices insert your pin directly on Frame. You should now be able to select the network and account you would like to use.

Network
To choose the desired network, select the network symbol button (as shown in the image below) in the upper right corner. This will take you to Frame Chains menu, where you can configure its general settings.

Feel free to choose any of the following networks: Goerli or Mainnet.
For this tutorial, we will select Goerli.


Accounts
The last step is to choose your account. Click on the Configuration button. You will find it on the right of the Ledger or Trezor icon). Click on the Accounts button that pops up below the icon. This will display a new menu with the available accounts on your device for the network. Select one with some GoerliEther.
In the configuration menu, you can also manage the Dapp permissions you have granted for that particular account.

You are now finished setting up Frame for your device and ready to sign your first transaction.
Last updated
Was this helpful?
