> For the complete documentation index, see [llms.txt](https://legacy-docs.aragon.org/llms.txt). Markdown versions of documentation pages are available by appending `.md` to page URLs; this page is available as [Markdown](https://legacy-docs.aragon.org/developers/tools/guides/how-to-sign-with-web3-providers/set-up-metamask.md).
# Setting up a Metamask Wallet
{% hint style="info" %}
In this section, you will learn how to set up a Metamask wallet and how to configure it for use with the [Quick Start section](/developers/tools/the-basics/getting-started.md).
{% endhint %}
{% hint style="success" %}
**We recommend using** [**Metamask**](https://metamask.io/) **as your Web3 wallet.**
Metamask is a browser plugin that lets you make Ethereum (and other blockchains) transactions through regular websites.
{% endhint %}
{% hint style="warning" %}
This guide focuses on a **Chrome extension**. However, the process is similar for all browsers.
{% endhint %}
## Getting started
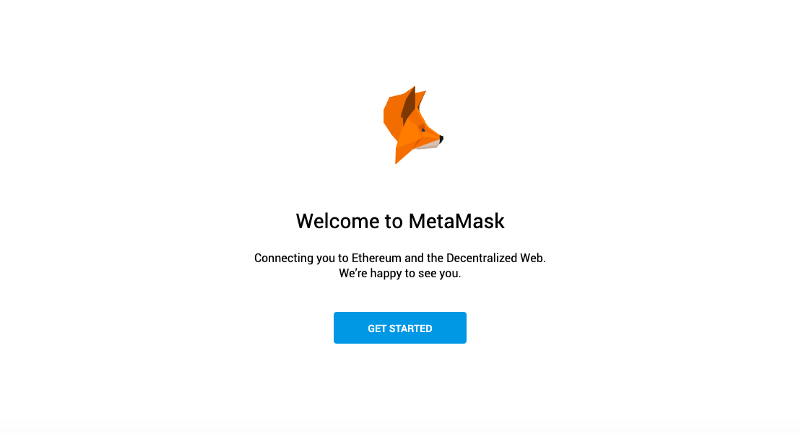
Visit the [Metamask homepage](https://metamask.io/) and download the browser extension. Once it is downloaded, you should be automatically directed to a welcome page:
Setup your Metamask account following the instructions.
Once your Metamask setup is complete, you should be redirected to your newly created Ethereum wallet:
.png?alt=media\&token=f45934c4-2cdb-427e-bb3a-a43e9a4dfb85)
{% hint style="success" %}
If you have made it this far, congratulations 🎉.
{% endhint %}
## Account address
If you click on the **"three dots"** button below your account name - in our case *Account 1* - a popup will appear with your account address. It should look similar to the example below:
> **0x931D387731bBbC988B312206c74F77D004D6B84b**
{% hint style="success" %}
This is your public address (or public key). You can share this with other people to receive ETH or other tokens.
{% endhint %}
## Selected networks
In the top right you should see a dropdown menu with ***Main Ethereum Network*** selected. With this option, you are able to interact directly with the main Ethereum blockchain.
If you click on it, a selection of other networks will be shown:
Drop down menu for selecting the network.
## Why should you select other networks?
Before launching a project (or dapp) on the main Ethereum network, it is good practice to deploy a version to an Ethereum test network (like Rinkeby) or on other main networks (like Polygon or Harmony) with low-cost fees to save on costs for transaction fees.
### The benefits of using a test net
The main reason for using a test net ETH is that it can be obtained without having to pay real money. This gives developers and the community a chance to iron out any problems before real money is involved.
#### There are four test nets:
* Ropsten
* Kovan
* Rinkeby
* Goerli
{% hint style="warning" %}
**At this stage don't worry about the differences between these networks.** All you need to know is that they simulate Ethereum and can be used without having to pay real money.
{% endhint %}
### Using private networks
Finally, you can also interact with private Ethereum networks by selecting **Localhost 8545**. Private in this case doesn't mean more secure. It just means that the nodes are not connected to the main or test network nodes. **Perfect for rapid experimentation and testing.**
{% hint style="warning" %}
Remember that if you want to use different networks, you need to set up your wallet and load your wallet with enough funds for paying the transaction fees.
{% endhint %}